Elegant Creators sure understands that dessert buffet table is never complete without a backdrop.
It is the kids’ favorite area of the party and an ‘Instagramable’ spot too.
Backdrops do not have to cost you an arm and a leg, though. Today, we are so glad to share with you different options and ideas when creating a backdrop for your next party.
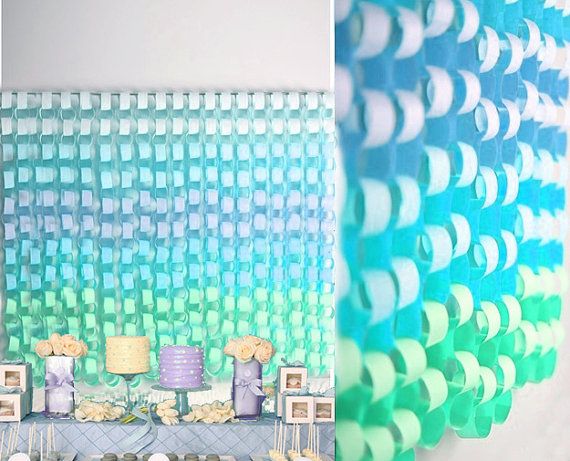
Paper Chain Backdrop
What you need:
How To:
- Choose at least three colors for your paper.
- Cut the papers into strips, an inch-wide.
- Work by batch according to colors.
- Cut the strips into three equal parts or depending on how big you want your rings to be.
- Make a chain by looping the rings to the other.
- Use a glue or staples to seal the loops.
- Once done with the paper chains, attach it on the wall or a stand.
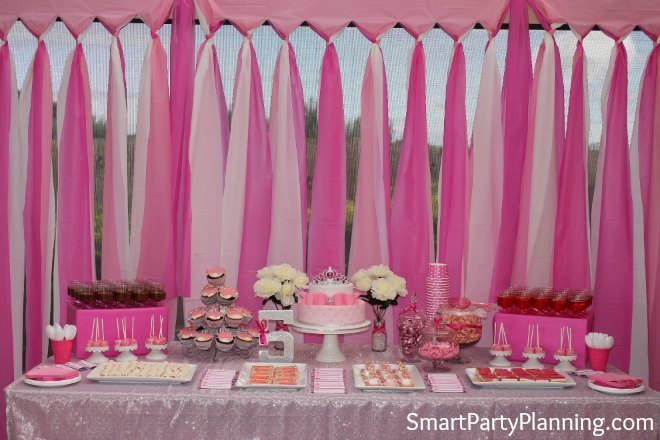
Plastic Tablecloth Backdrop
What you need:
- Plastic tablecloths (3 colors)
- Staples
- Scissors
How to:
- Pick three colors of plastic tablecloths according to the party theme.
- Unfold each cloth and lay them flat on top of each other.
- Keep them in place using staples.
- Slice (or cut) the tablecloth from the bottom to top leaving at least 10 inches for hanging.
- Install your backdrop to the desired area of the party before braiding the stands.
- Braid as far down as you like.
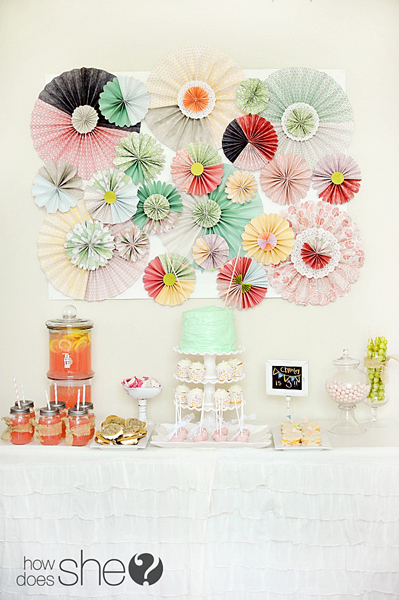
Paper Rosettes Backdrop
What you need:
How To:
- Lay few sheets of papers on top of each other.
- Fold in half and cut.
- Fold again in half for smaller rosettes.
- Start folding each paper accordion-style or the fold you do when making a paper fan. The width depends on you.
- Fold another sheet of paper (now you have two pieces of accordions).
- Glue the end fold of the other sheet to the other end of the sheet (you should have a long continuous folded sheet).
- Tie a thread in the middle of the accordion fold.
- Pull both ends together towards the center.
- If you are satisfied with how your rosette looks like, secure it with glue and cut the thread.
- Loop a long thread in the center of the fold then make a knot.
- For hanging, stick small hooks on the wall and hang your rosettes.
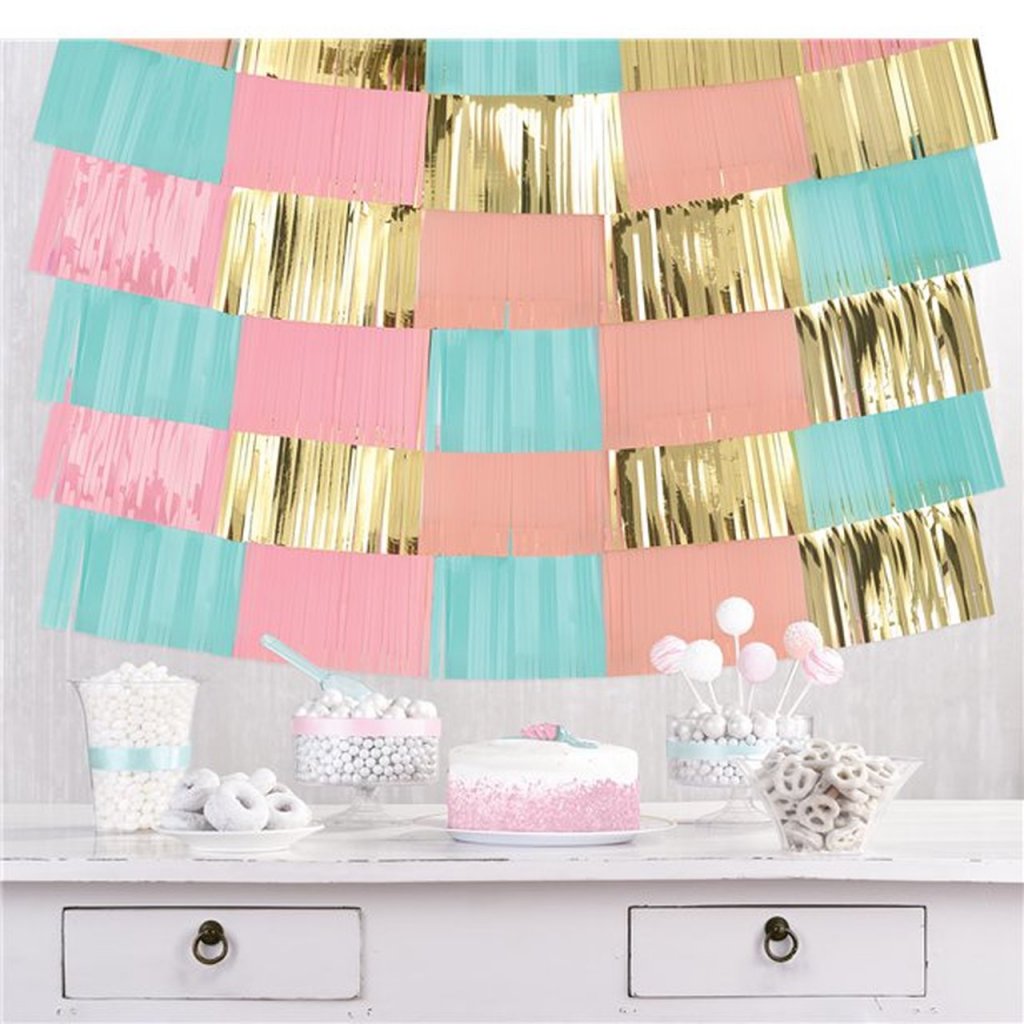
Fringe Backdrop
What you need:
- Tissue paper and/or metallic paper
- String/twine
- Glue, tape, hooks, push pins
How To:
- Prep your twine or string. Attach to the wall using glue, tape, hooks, or push pins.
- Fold tissue papers and lay them flat on top of each other.
- Fold in half, lengthwise.
- Cut your fringe from the bottom toward the fold leaving at least two inches from the fold.
- Hang your fringed tissue paper on the twine/string, with the fold resting on the twine/string.
- Repeat the steps until you reach your desired length.
- Each layer of the fringe must be attached closely to overlap.
Facebook Comments