Minnie Mouse has always been a classic favorite of both kids and kids at heart.
We’ve seen beautiful Minnie Mouse centerpieces at birthday parties, baby showers, and even bachelorette.
And so we at Elegant Creators thought of sharing fun and easy DIY steps how you can make your own!
Follow the steps below.
What you need:
- (1) 3” styrofoam ball
- (2) 2” styrofoam ball
- Styrofoam cube (as base)
- Smooth finish paste for styrofoam
- Hot glue
- Black spray paint
- Paint brush
- Toothpicks
- Ribbon
- Scissors
- Tissue paper
- Dowel rods
- Old box (used as stand)
- Plastic pots
- Decorative/craft materials (stickers, buttons, colored paper, etc.) – optional
How to:
- Apply a smooth finish paste onto the styrofoam balls (2” and 3”)
- Let dry
- Insert toothpicks into the styrofoam balls and stick them into an old box
- Spray the balls with black paint
- Let dry
- Once completely dry, form the mouse ears by sticking the toothpick with painted styrofoam balls into the larger ball
- Stick the dowel rod into the bottom of the large ball
- Make a small bow and hot glue it below the left ear
- Stick the end of the dowel rod into the styrofoam cube
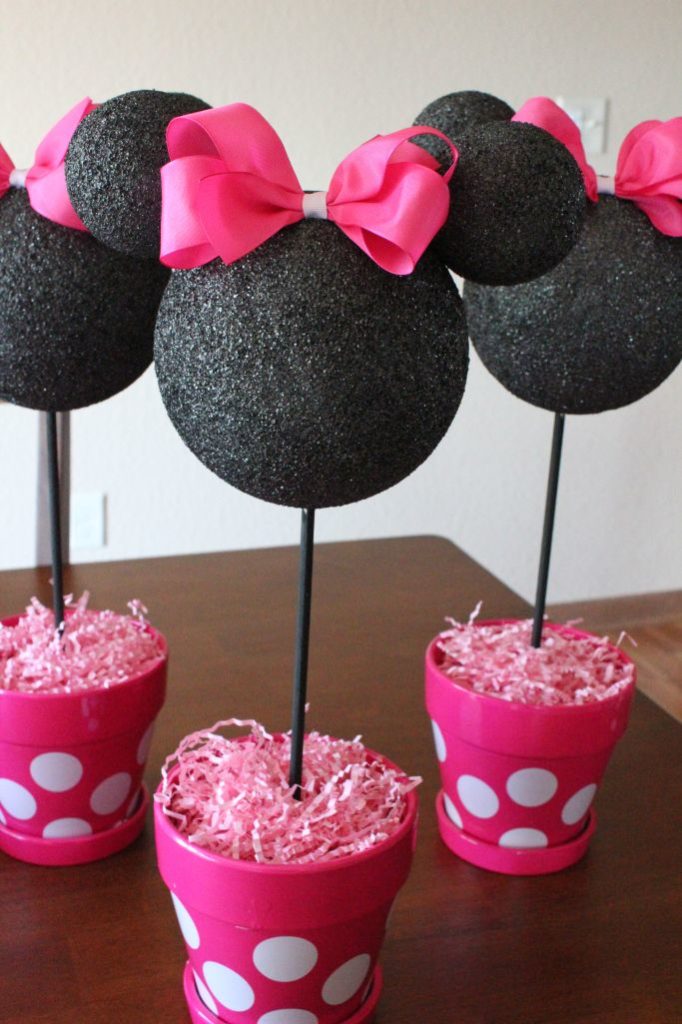
- Place the Minnie Mouse inside a plastic pot
- Cut the tissue paper into thin stripes and place it on top of the styrofoam cubes to cover and fill in the space
- Repeat the steps to create the number of centerpieces you need
- Decorate the pots using your craft materials (optional)
Here are another looks for you to try:
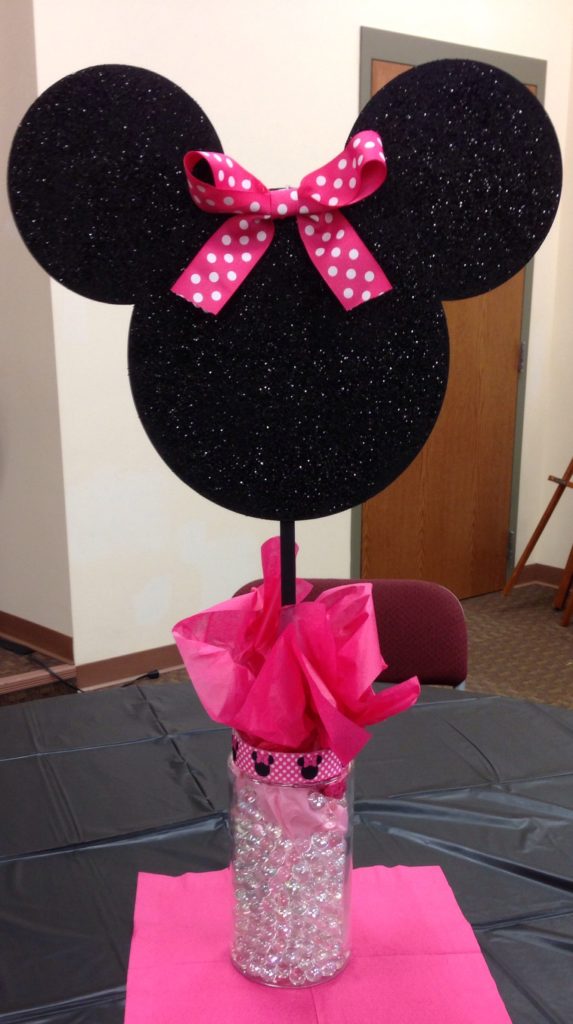
In this style, you can use a jar or glass instead of plastic pots. Fill the jar with pebbles or marbles. Use a tissue paper to accessorize.
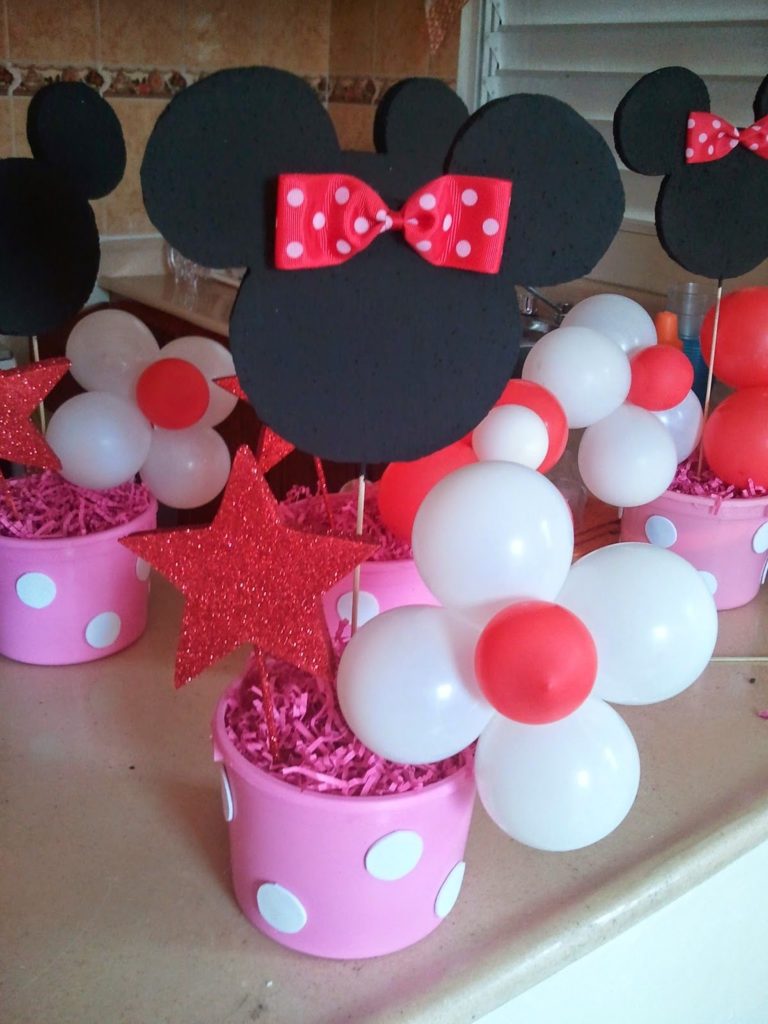
In this example, you may replace styrofoam balls with card stock or cardboard. Add balloons for accent.
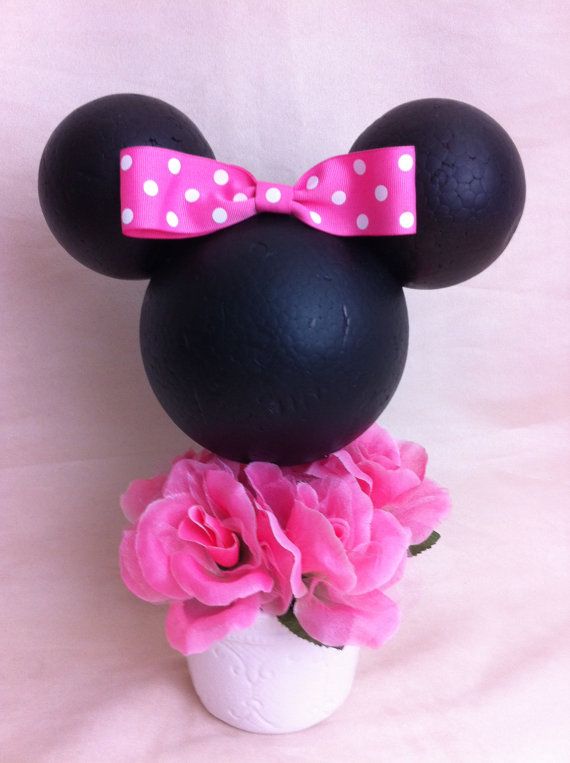
Try using silk flowers to decorate the pot.
DIY now and let us know how it went for you!
Facebook Comments