Birthday parties, weddings, showers, and other fun occasions are incomplete without a photo booth nowadays.
With a photo booth in sight, it’s easy for guests to let loose and be silly. According to surveys, photo booth is one of the top party activities that guests enjoy the most. Yes, it’s a crowd favorite!
Avoid the expensive photo booth rental by following these 6 simple steps to create a DIY photo booth prepared by Elegant Creators.
Things You Need:
- Digital point and shoot camera
- Camera tripod
- Remote shutter/control
- Backdrop
- Backdrop stand (if needed)
- Clamps (optional)
- Lighting (spotlight, floor lamp)h
- Props
STEP #1 Choose The Perfect Spot For Your DIY Photo Booth
Begin by securing a space where you set up your photo booth in the party venue. Look for a place where it can be easily located by the guests but does not interrupt the program or block pathways. Unused hallways, open outdoor space, or dance floor corners are some of the great spots for photo booth.
STEP #2 Make Your Own Backdrop
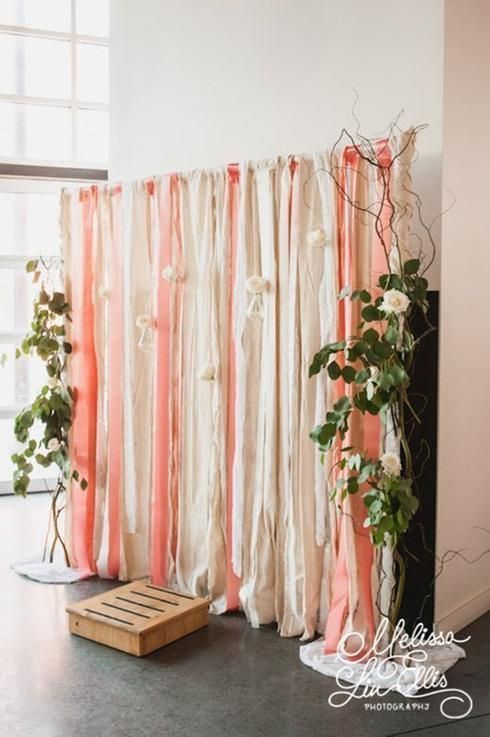
Image: Pinterest
Unsure about your carpentry skills? Don’t worry. Photo booth backdrop designs need not to be complicated. Opt for simple materials that are very easy to piece together. Choose from ribbons, fabrics, crepe papers, flowers, and anything that looks attractive and vibrant.
| STEP #3 Assemble Camera and Tripod |
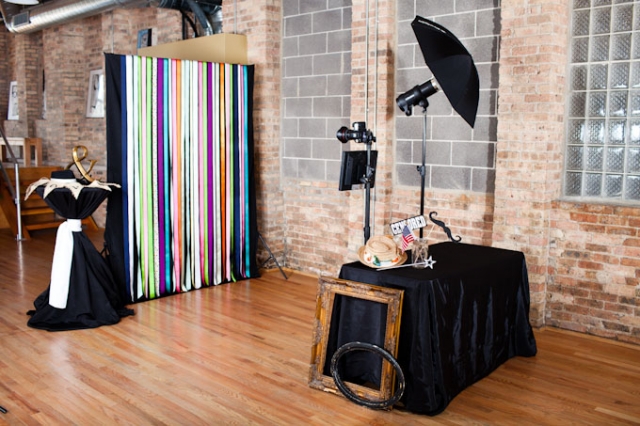
Mount your camera on the tripod and place it a few feet away from the backdrop. Make sure your camera has sufficient batteries and memory card. Test the camera and remote shutter before the party begins.
STEP #4 Brighten Up Photos With DIY Lighting
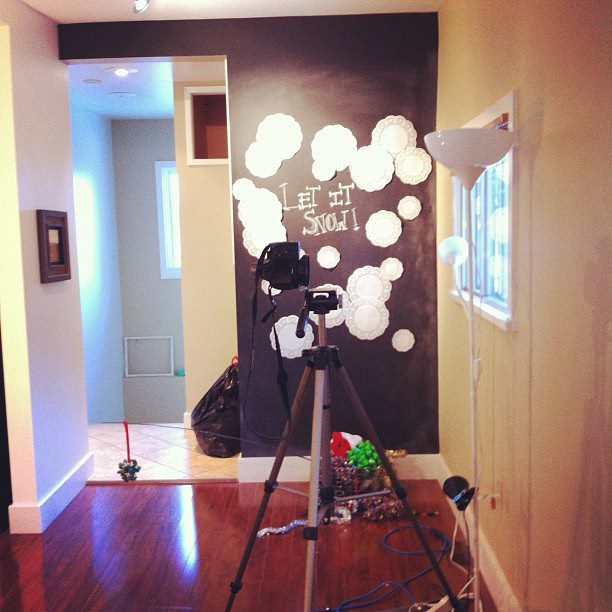
Good lighting is essential for picture-perfect moments. Make sure that your spot for photo booth has either natural light (outdoor) or by the windows. When it gets dark, you can use an inexpensive spotlight or a floor lamp.
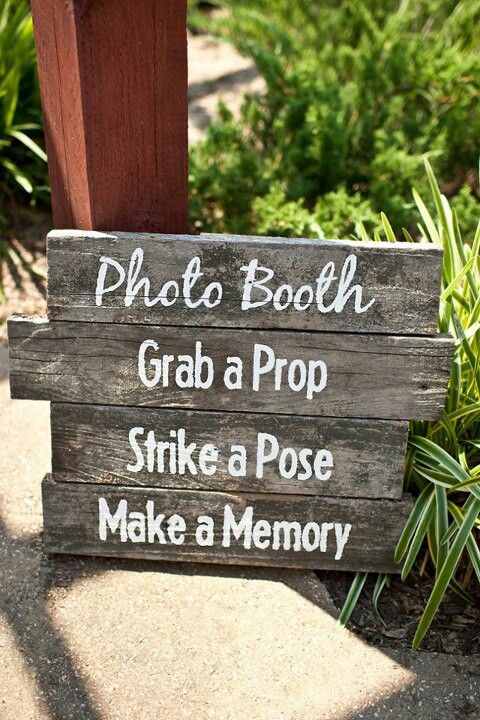
STEP #5 Prepare DIY Photo Booth Props

Hats, sunglasses, colorful wigs, costumes, and funny signages definitely bring so much fun and laughter. You can make your own props if you are artsy crafty. But if you are not or you simply run out of time, you can download printable prop designs online.
Tip: Place a table for props within reach so guests can easily grab them to strike a pose with.
STEP #6 Create An Online Album

Your guests will be ecstatic to see their photos after the party. Using your social media platforms, create an online album of the shots taken from the photo booth.
Leave us Your comment below
I like Your Article I like Your Thoughts thanks For Share This Amazing Article 🙂